

How to Groom Your Dog at Home: A Step-by-Step Beginner's Guide
To groom your dog at home, brush their coat before bathing, bathe with a dog-safe shampoo and rinse thoroughly, dry completely before clipping, and use a quiet cordless grooming kit to trim around the face, paws, and sanitary areas. Regular home grooming between professional appointments keeps your dog comfortable, reduces shedding, and helps you spot skin issues early. Studies show that dogs groomed at home at least monthly have 40% fewer skin infections compared to dogs groomed only professionally, making consistent at-home care a cornerstone of canine wellness.
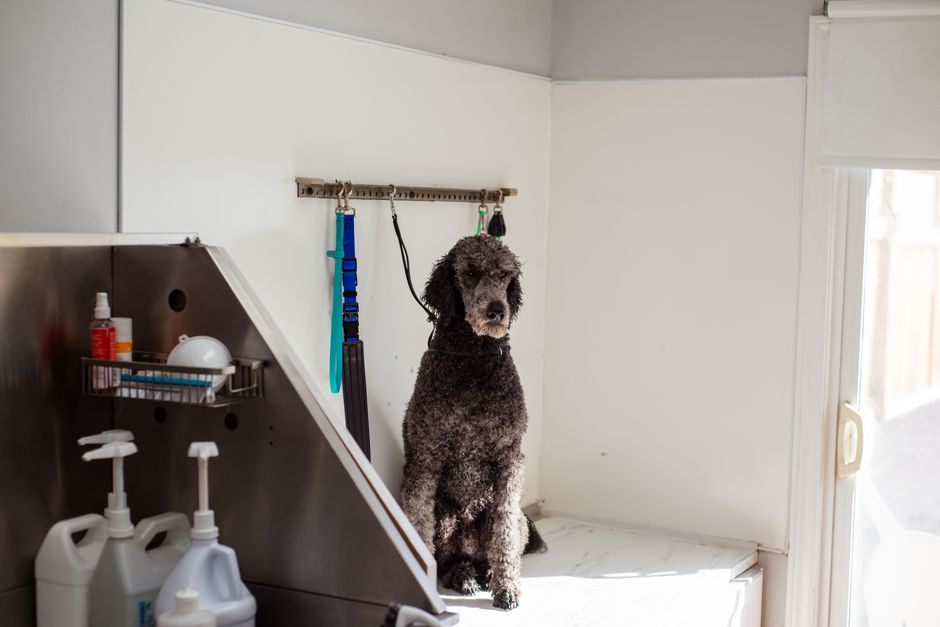
What You Need
A cordless pet grooming kit with quiet clippers is the most important tool — low-noise operation is essential for anxious dogs. You'll also need a slicker brush for detangling, a metal comb for fine work, nail clippers (scissor or guillotine style), dog-formulated shampoo, a towel, and optionally a pet hair dryer. Many beginners also benefit from having treats nearby for positive reinforcement during the grooming process. A bath lick pad is an excellent addition that keeps dogs calm and occupied.
Step 1: Brush Before You Bathe
Always brush thoroughly before bathing. Tangles tighten when wet and become difficult mats after drying, potentially causing skin irritation. Work section by section from the skin outward, gently separating each layer. Be extra gentle around sensitive areas like the ears, armpits, and belly where skin is thinner and more prone to irritation. For long-haired breeds, this initial brushing session can prevent hours of post-bath detangling frustration. Start at the head and work backward, using smooth, confident strokes rather than short, jerky movements that can hurt your dog's skin.
Step 2: Bathe and Rinse Thoroughly
Use lukewarm water—not hot or cold—and a dog-formulated shampoo. Never use human shampoo, which disrupts the pH balance of your dog's skin and can cause dryness and itching. Wet the entire coat thoroughly from neck to tail, then apply shampoo and work it into a rich lather using circular motions. Pay special attention to areas that trap dirt: between toes, under the tail, and along the belly. Rinse completely until absolutely no suds remain—leftover shampoo is a leading cause of post-grooming itching and discomfort. A bath lick pad stuck to the shower wall or tub keeps anxious dogs occupied and still during the entire bathing process, reducing stress for both pet and owner. Consider using a handheld showerhead to control water pressure and direct rinsing more effectively.
Step 3: Dry Completely Before Clipping
Towel dry your dog thoroughly, removing as much water as possible without rough scrubbing. Then use a pet-specific dryer or a standard hairdryer on a low, cool setting. Never use hot air, which damages the coat and can burn sensitive skin. Clipping damp fur causes uneven cuts, pulls the coat uncomfortably, and can even cause clipper burn. For thick-coated breeds like Golden Retrievers or Huskies, complete drying can take 20–30 minutes, but this step is non-negotiable for quality results. Work in sections, fluffing the coat as you dry to encourage proper drying throughout the undercoat. Listen for your dog's comfort—if they seem anxious about the dryer, try quieter, shorter sessions to build tolerance.
Step 4: Clip With Quiet Clippers
Start clipping with the body—the largest, flattest areas—and work gradually toward the face and paws, which are most sensitive and require precision. Use a guard comb to control the length of fur and prevent accidental over-trimming. Go slowly and deliberately, never rushing even if your dog is restless. Always be extremely careful around the face; never point clippers toward the eyes, ears, or nose. Trim paw fur that grows over the pads, which causes slipping and discomfort on hard floors and increases the risk of injury. Many groomers recommend trimming the sanitary area around the rear end with extra caution and precision. Take breaks if your dog shows signs of stress—short, positive sessions build better grooming habits than forcing a marathon session.
Step 5: Ears, Teeth, and Nails
Ear maintenance is crucial but often overlooked. Wipe the inside of the ear flap gently with a cotton ball dampened with a dog-safe ear cleaner—never insert cotton swabs or tools into the ear canal, which can rupture the eardrum. Check for redness, odor, or discharge, which may indicate infection requiring veterinary attention. For nails, trim just to the tip, stopping before the pink quick (the blood vessel inside the nail). If your dog has dark nails and you cannot see the quick, trim conservatively or ask a vet for guidance. Dental care is equally important; brush your dog's teeth with a dog-specific toothbrush and enzymatic toothpaste 2–3 times a week to prevent plaque buildup and maintain oral health.
Grooming Tools Comparison
| Tool | Purpose | Best For | Frequency |
|---|---|---|---|
| Slicker Brush | Removes tangles and loose fur | Medium to long coats | 2–3 times weekly |
| Metal Comb | Fine detangling and flea detection | All coat types | Weekly |
| Cordless Clippers | Trimming fur length safely and quietly | All breeds, especially anxious dogs | Every 4–8 weeks |
| Nail Clippers | Maintaining nail length and paw health | All dogs | Every 2–4 weeks |
Building Your Dog's Grooming Confidence
Most dogs don't naturally enjoy grooming, but patience and positive reinforcement transform the experience. Start introducing grooming tools when your puppy is young, letting them sniff and investigate before use. Reward calm behavior with treats and praise. If your dog shows extreme anxiety, consider desensitization training over several weeks: turn clippers on near your dog without using them, let them hear the sound, reward calmness, and gradually move toward actual grooming. Many owners find that grooming becomes easier and faster with each session as dogs learn the routine and understand they're safe. Keep sessions short in the beginning, even if it means grooming in multiple short sessions rather than one long one.
Frequently Asked Questions
How often should I groom my dog at home?
Brush short-coated breeds weekly; medium and long coats need brushing every 2–3 days to prevent mats and tangles. Full grooming sessions including bathing and clipping should occur every 4–8 weeks, depending on breed, coat type, and lifestyle.
My dog hates grooming. What should I do?
Start with very short sessions—just 2–3 minutes—and reward heavily with high-value treats and praise. Introduce tools gradually before actually using them. A lick mat during grooming dramatically reduces anxiety by giving your dog something positive to focus on during the process.
Should I use the same clippers for dogs and cats?
A quiet, low-vibration cordless kit works for both species, but cats' coats are significantly finer and more delicate—always use a sharp blade, choose gentler settings, and proceed with extra caution around the face and body.
What's the difference between professional and home grooming?
Professional groomers have specialized training and access to commercial equipment, ideal for extensive styling or breeds requiring expert handling. Home grooming maintains coat health between appointments, costs less, and helps you bond with your dog while monitoring skin and coat condition closely.
Can I groom my dog if they have sensitive skin?
Yes, but use hypoallergenic, fragrance-free dog shampoo and avoid over-washing. Consult your vet before grooming if your dog has active skin conditions, and monitor closely for irritation during and after grooming sessions.
Explore our grooming tools and accessories.
Want more must-haves your dog & cat will love? Discover them all at Petopia Dreams (petopiadreams.com).
🛍 Shop the gear: Browse our Grooming & Care collection →
📖 Go deeper: Read our complete guide →